REST API for your SME software
Over 600 open REST endpoints based on the OpenAPI 3 standard, searchable via Swagger, plus webhooks for real-time updates. Build your own integrations, connect Zapier or n8n, or show live key figures on your company website. Included in every plan.
What Do You Need API and Webhooks For?
Your company website should show up-to-date key figures. A business partner's tool wants to import the data automatically. Or you want to build your own WordPress plugin. As soon as data needs to flow between Printerless and another system, you need an interface.
That's exactly what the API is for. Over 600 open endpoints give you access to your own business data, from accounting and invoices to postal mailing. You decide per key what is shared.
And if your system should not have to ask for updates itself but react immediately, webhooks are the counterpart. As soon as something happens in your account, Printerless reports it to your system automatically. This means you fetch data with the API whenever you want, and webhooks notify you as soon as something happens.
All endpoints documented and searchable
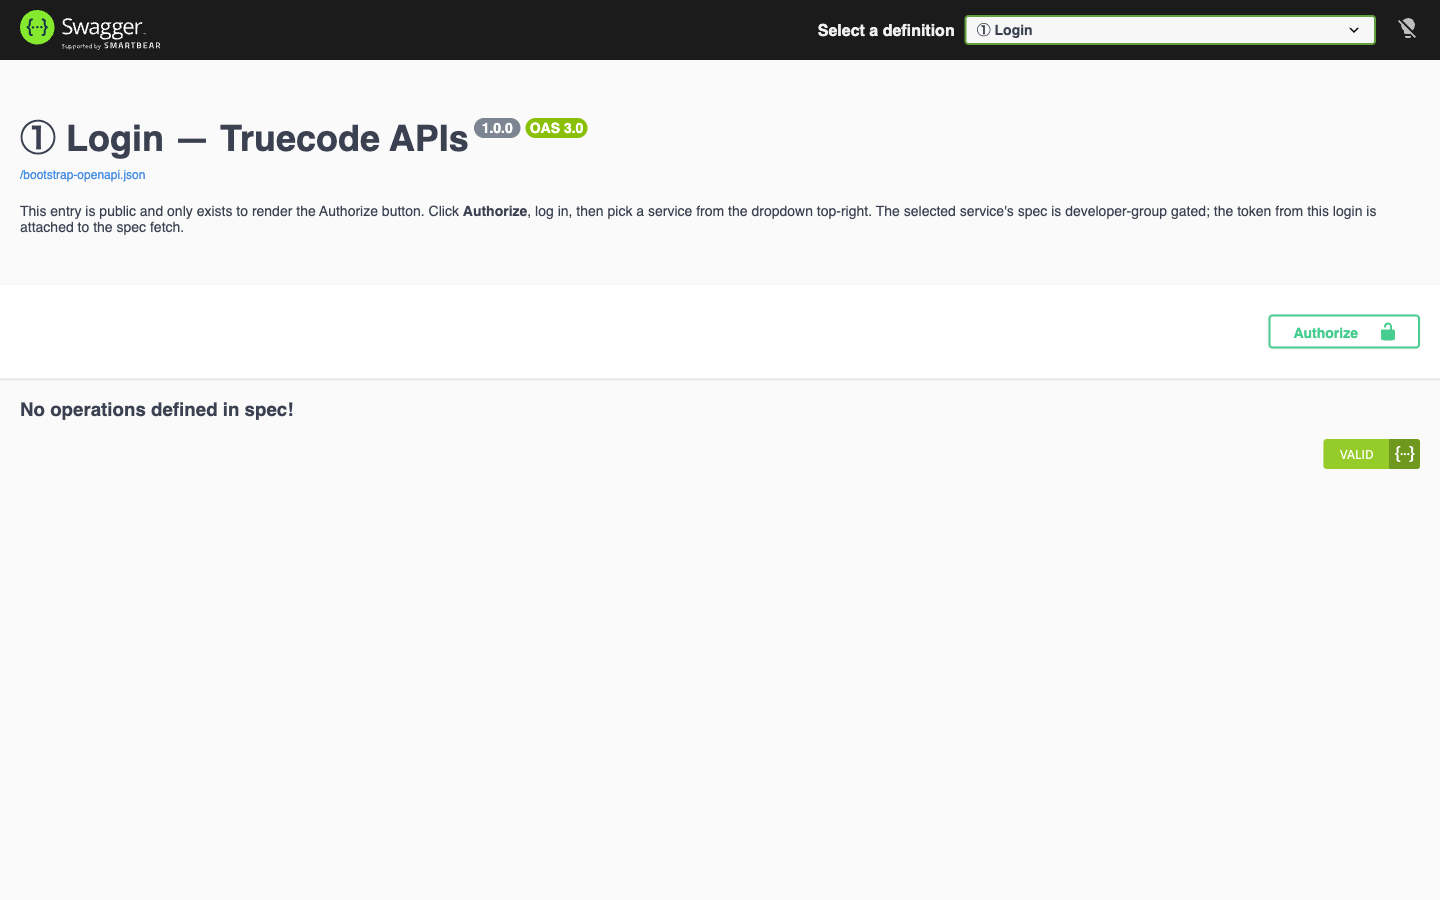
Each of the over 600 endpoints is described in the Swagger interface and can be tried directly. You choose the right service, see all fields and examples, and test the call in the browser.
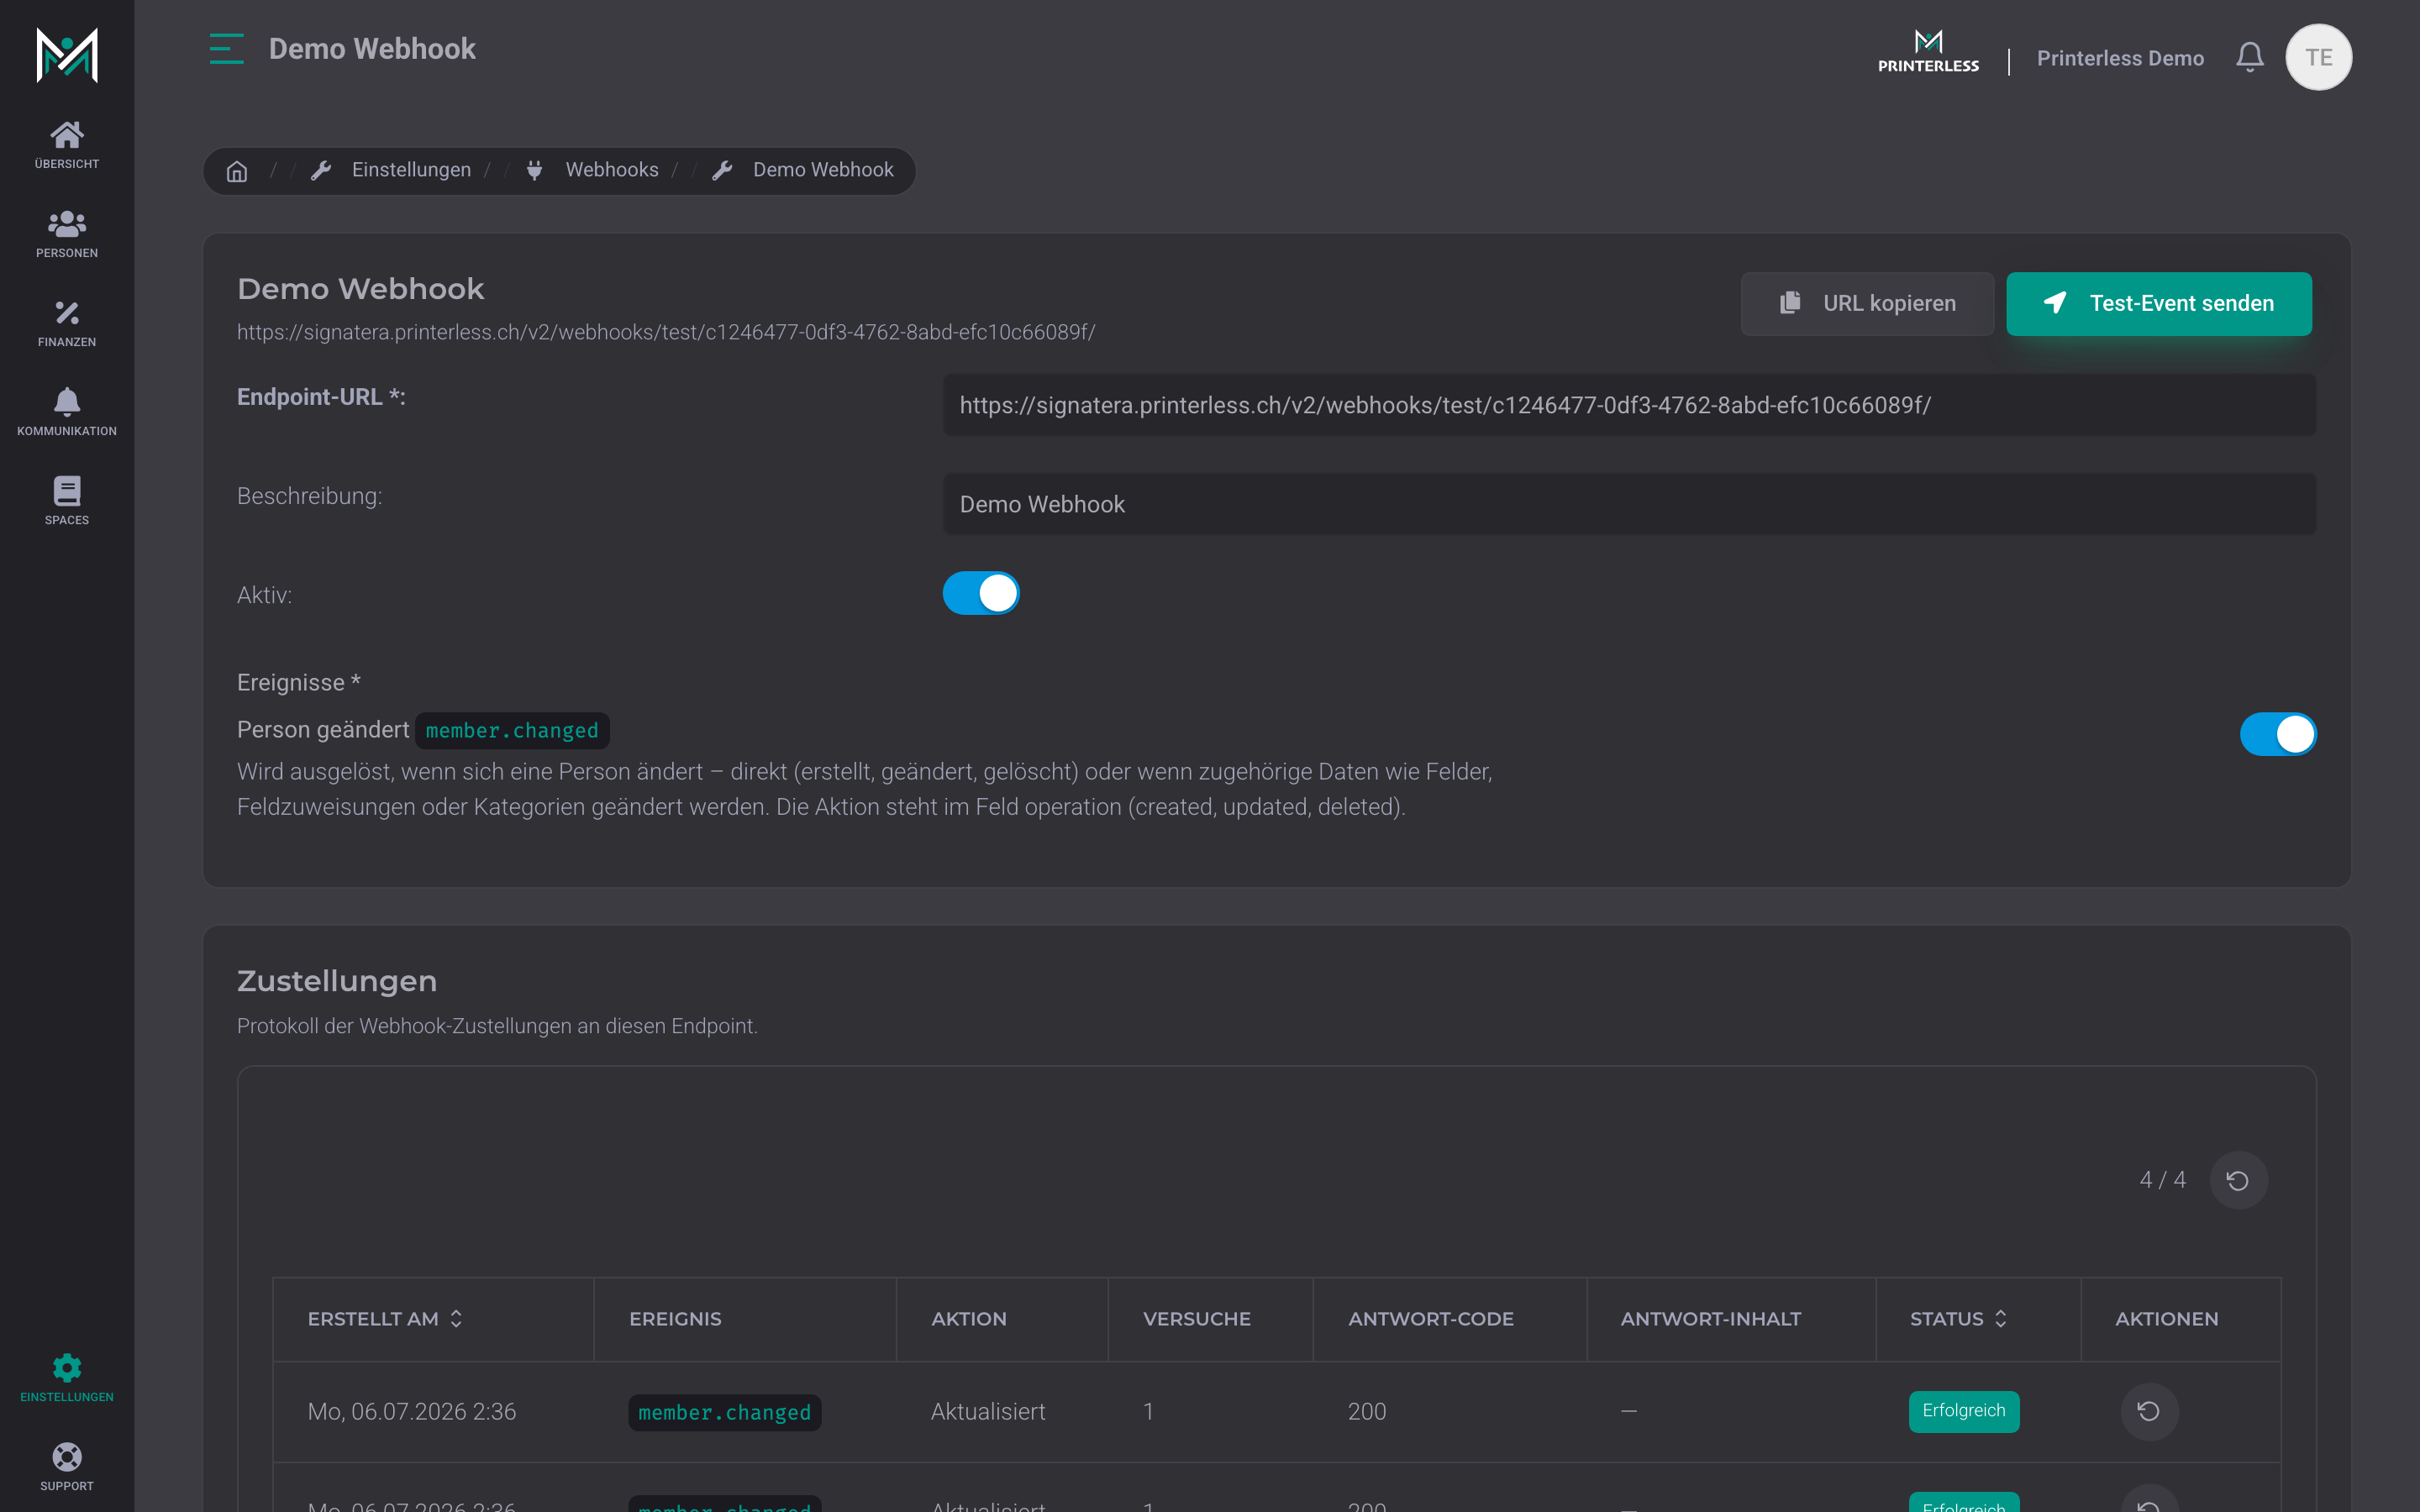
Webhooks: changes to your systems in real time
Instead of polling regularly, Printerless reports changes automatically. For every event, we send a signed message to your URL, optionally additionally secured with OAuth2. In the delivery log, you can see every delivery with status and response, and resend individual messages or trigger a test event.
What an API call looks like
With your API key, you get a token and then call any endpoint using a normal HTTP request. Here using letters as an example, once with curl and once in Python.
curl# 1. Token holen (client_id + Schlüssel aus den Einstellungen, API-Schlüssel)
TOKEN=$(curl -s -X POST \
https://auth.printerless.ch/realms/members/protocol/openid-connect/token \
-d grant_type=client_credentials \
-d client_id=$CLIENT_ID \
-d client_secret=$CLIENT_SECRET | jq -r .access_token)
# 2. API-Call mit Bearer-Token (Beispiel: Briefe abrufen)
curl -s https://api.printerless.ch/v2/letters/letter/ \
-H "Authorization: Bearer $TOKEN"import requests
# 1. Token holen
token = requests.post(
"https://auth.printerless.ch/realms/members/protocol/openid-connect/token",
data={
"grant_type": "client_credentials",
"client_id": CLIENT_ID,
"client_secret": CLIENT_SECRET,
},
).json()["access_token"]
# 2. Briefe abrufen
letters = requests.get(
"https://api.printerless.ch/v2/letters/letter/",
headers={"Authorization": f"Bearer {token}"},
).json()
print(letters["items"])Export OpenAPI specification
The OpenAPI specification is available at api.printerless.ch/openapi/ and is the machine-readable basis of the Swagger interface. Access requires authentication. If you do not attach a valid token, the interface responds with 401.
JavaScript// OpenAPI-Spezifikation exportieren (Authentifizierung erforderlich)
const token = await fetch(
"https://auth.printerless.ch/realms/members/protocol/openid-connect/token",
{
method: "POST",
headers: { "Content-Type": "application/x-www-form-urlencoded" },
body: new URLSearchParams({
grant_type: "client_credentials",
client_id: CLIENT_ID,
client_secret: CLIENT_SECRET,
}),
},
).then(r => r.json()).then(d => d.access_token)
const openapi = await fetch("https://api.printerless.ch/openapi/", {
headers: { Authorization: `Bearer ${token}` },
}).then(r => r.json())
console.log(openapi) // vollständige OpenAPI-3-SpezifikationGenerate TypeScript client
From the OpenAPI specification, you generate a ready-made TypeScript client using the public openapi-generator-cli. The tool runs independently via npx, without installation and without any dependency on Printerless. The same approach is also available for Python and many other languages. You only swap the generator name, for example python instead of typescript-axios.
Bash# 1. OpenAPI-Spezifikation mit Token herunterladen
curl -s https://api.printerless.ch/openapi/ \
-H "Authorization: Bearer $TOKEN" > openapi.json
# 2. TypeScript-Client generieren (öffentliches Tool, keine Abhängigkeit zu Printerless)
npx @openapitools/openapi-generator-cli generate \
-i openapi.json \
-g typescript-axios \
-o ./printerless-clientOver 600 endpoints, clearly separated
Accounting, invoices, postal mail, contacts, and documents: each area has its own clearly documented interface. More than 600 endpoints in total.
One login for everything
All services share a central login based on the OAuth2 and OpenID Connect standard. You get a token, then it works for every service.
Fine-grained permissions per key
Each API key gets only the permissions you give it. Permissions are finely granular, from read-only to full management, per area.
Ready-made SDKs for developers
Ready-made SDKs are available for Python, TypeScript, and Swift, so developers can get started in hours instead of weeks. Each service is clearly described according to the OpenAPI 3 standard.
Zapier, n8n & more
Connect Printerless with Zapier or n8n without any programming, or build live dashboards. Accounting, invoices, and postal mail flow automatically to wherever you need them.
Complete API documentation
You can find all endpoints with fields, examples, and the option to try them directly in the browser in the searchable Swagger interface.
Go to Swagger documentationFrequently Asked Questions
- Is the API included in my plan?
- Yes. Developer access is included in every plan, at no extra cost and without a separate booking. You simply create an API key in the settings.
- Do I need programming skills?
- Not for simple connections. With Zapier or n8n, you connect Printerless to other tools without any code. If you program yourself, you can use the ready-made SDKs for Python, TypeScript, and Swift.
- What data can I access?
- Practically everything you also see in the app: contacts, invoices and accounting, postal mail, and documents. Each key only sees the areas you grant it access to.
- Where can I find the documentation?
- You can find the full documentation as a searchable Swagger interface at docs.printerless.ch. There you can see every endpoint with fields and examples, and try it directly.
Connect your company to everything
Try Printerless free for 14 days and create your first API key in just a few minutes.
Try for free